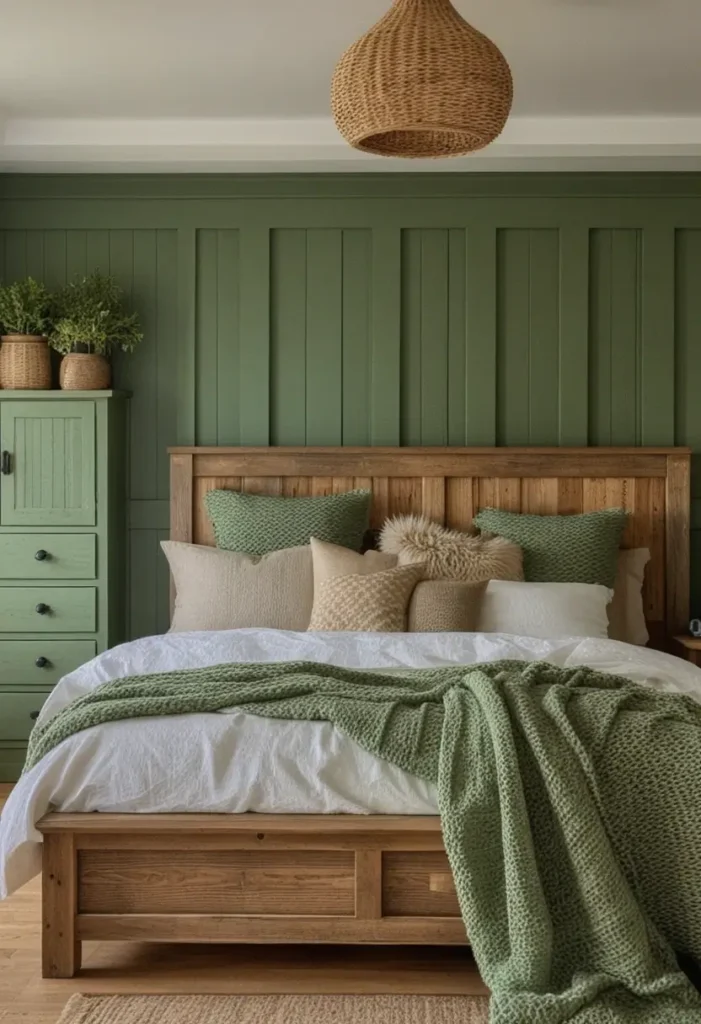
Painting a room is often described as the easiest DIY home improvement project, yet the difference between a landlord-special and a professional-grade finish lies entirely in the details. We have compiled the most critical questions and expert answers from experienced renovators to guide you through the process.
The Preparation Phase
Most professionals agree that 80% of a good paint job happens before you even open the can.
How do you prepare a wall for painting?
Preparation is not just about cleaning; it is about creating a perfectly smooth canvas. Do not rush this step.
- The Light Test: Before you start, turn off the room lights and use a high-wattage halogen work lamp (1000W) or a very bright LED light. Shine it sideways along the wall. This “raking light” will reveal every imperfection, bump, and divot that standard lighting hides.
- Mark and Fix: Circle every imperfection with a pencil. Use a spackle knife to knock down high spots and fill low spots.
- The “Sand-Clean-Sand” Method: Once your repairs are dry, sand the entire wall. Wipe it down with a damp sponge to remove every speck of dust. Dust is the enemy of a smooth finish.
- The Primer Check: After priming, shine the light again. If you see “fuzzies,” dust, or brush marks, sand them down again before applying your color.
How do I fill in screw and nail holes?
You cannot simply paint over holes; they will show through.
- The Material: Avoid cheap, shrinking pastes. Use a high-quality spackling compound like DAP DryDex (which turns white when dry) or a “reduced dust” lightweight spackle found in the drywall aisle.
- The Application: Use a 4-to-6-inch spackling knife. Press the compound into the hole, then swipe over it to level it off.
- The Secret: If you are filling many holes, buy a 3-gallon bucket of lightweight spackle rather than the small tubes; the consistency is better and it stores well. Always sand flush after drying.
Do I need to prime or strip the existing paint?
- Stripping: Generally, no. Stripping paint is messy and unnecessary unless the old paint is ancient, incredibly thick, or peeling badly.
- Priming:Yes, you should almost always prime. While modern “paint and primer in one” products exist, a dedicated primer is cheaper and adheres better.
- When it is mandatory: If you are painting over a dark color with a light one, use a white primer. If painting red or dark colors, use a grey primer. If the wall has never been painted (fresh drywall), you must prime.
- The Benefit: Primer creates a uniform surface that ensures your expensive topcoat looks consistent and doesn’t flash (look shiny in some spots and dull in others).
How do I handle wallpaper?
- Painting Over It: If you must paint over wallpaper, use a specific “wallpaper paint” or an oil-based primer (like Zinsser) first to seal it. Water-based paints can soak into the paper and cause it to bubble or peel.
- Removing It: This is the preferred route. Use a steamer and a putty knife. Be gentle to avoid gouging the plaster. If the wall underneath is rough, you may need to apply a “skim coat” of joint compound or hang lining paper before painting.
Tools and Equipment
Your skill is only as good as your tools. “Buying cheap is buying regret.”
What type of roller and brush should I use?
- Brushes: Do not buy the $20 bargain pack. Invest in Purdy or Wooster brushes. They hold more paint, release it more evenly, and leave fewer brush marks. An angled sash brush (2 inch) is versatile for cutting in edges.
- Rollers: The “nap” (thickness of the fabric) matters.
- Smooth surfaces (Cabinets/Doors): Foam roller.
- Standard Drywall: 3/8″ nap.
- Textured Walls: 1/2″ nap.
- Concrete/Brick: 3/4″ nap.
- Tape: Do not blindly trust painter’s tape. Paint often bleeds under it. To get a crisp line, seal the tape edge with a thin layer of the existing wall color (or clear matte medium) before applying your new color.
What is a brush cleaner?
Many beginners ruin their new, expensive brushes by failing to clean them properly.
- The Tool: A “brush comb” or wire brush tool is essential. It has metal teeth to comb through the bristles and remove dried paint from the “heel” (where the bristles meet the handle).
- The Liquid: There are dedicated brush cleaning liquids (often safer and more effective than generic paint thinner) that condition the bristles, keeping them soft for years.
Technique and Execution
Achieving a seamless look requires patience and the right motion.
How do you recommend painting round corners?
Round or “bullnose” corners are tricky because there is no sharp line to tape.
- The Solution: Use a soft foam roller. It conforms to the curve better than a standard roller.
- The Technique: Instead of trying to paint a straight line down the center of the curve, let the color wrap slightly around the curve naturally. Consistency is key here; whichever method you choose, stick to it for the whole room.
Should I paint in a “W” motion?
- The Old School: Traditionally, painting a “W” and filling it in was taught to distribute oil-based paints.
- The Modern Consensus: With modern water-based latex paints, keeping a “wet edge” is more important.
- Paint in columns from floor to ceiling (or vice versa).
- Move quickly enough that the paint you just applied hasn’t started to dry before you overlap it with the next stroke.
- Modern paints skin over in seconds; if you brush back over tacky paint, you will create texture and ruin the finish. Apply it and leave it alone.
Tips for the Future
A pro thinks about the next time they will have to paint.
How do I remember my paint color in the future?
Five years from now, you will not remember if that beige was “Classic Sand” or “Desert Bisque.”
- The Switch Plate Trick: Write the brand, color code, and finish (e.g., Eggshell, Satin) on the back of the light switch cover plate in the room with a permanent marker. It will never get lost.
- The Email Backup: Email yourself the details with keywords like “Living Room Paint,” including a photo of the can’s label.
- The Leftovers: If you have a tiny bit of paint left, don’t keep the big rusty can. Pour it into a small, airtight glass jar or buy a cheap “sample tin” for future touch-ups.